.png)


Stovetop Chocolate Granola
Chocolaty and perfectly crunchy chocolate granola made on the stovetop in just a few minutes.

YOU WILL NEED
Rolled oats, gluten-free if required
Macadamia or coconut oil
Cacao powder
Maple syrup
Sunflower seeds
and a pinch of salt

STOVETOP
Yes, no oven required for this recipe. All you will need is a stove and a good non-stick (ideally) pan.
TOASTING THE OATS
Start off by dry roasting the oats in a hot pan. This will toast the oats, make it crunchy and adds flavour.
Only after this step is the oil added, which will help give the oats that golden colour.

ENJOY WITH
Plant-based yoghurt and berries. Make it chocolatey by mixing a little bit of chocolate protein powder or cacao into the yoghurt.
Delicious with oven-baked pears, vanilla chia pudding and yoghurt
Sprinkle this over your chocolate overnight oats - for crunch!
Delicious with (nut) milk and fresh cherries

OTHER GRANOLA RECIPES TO TRY
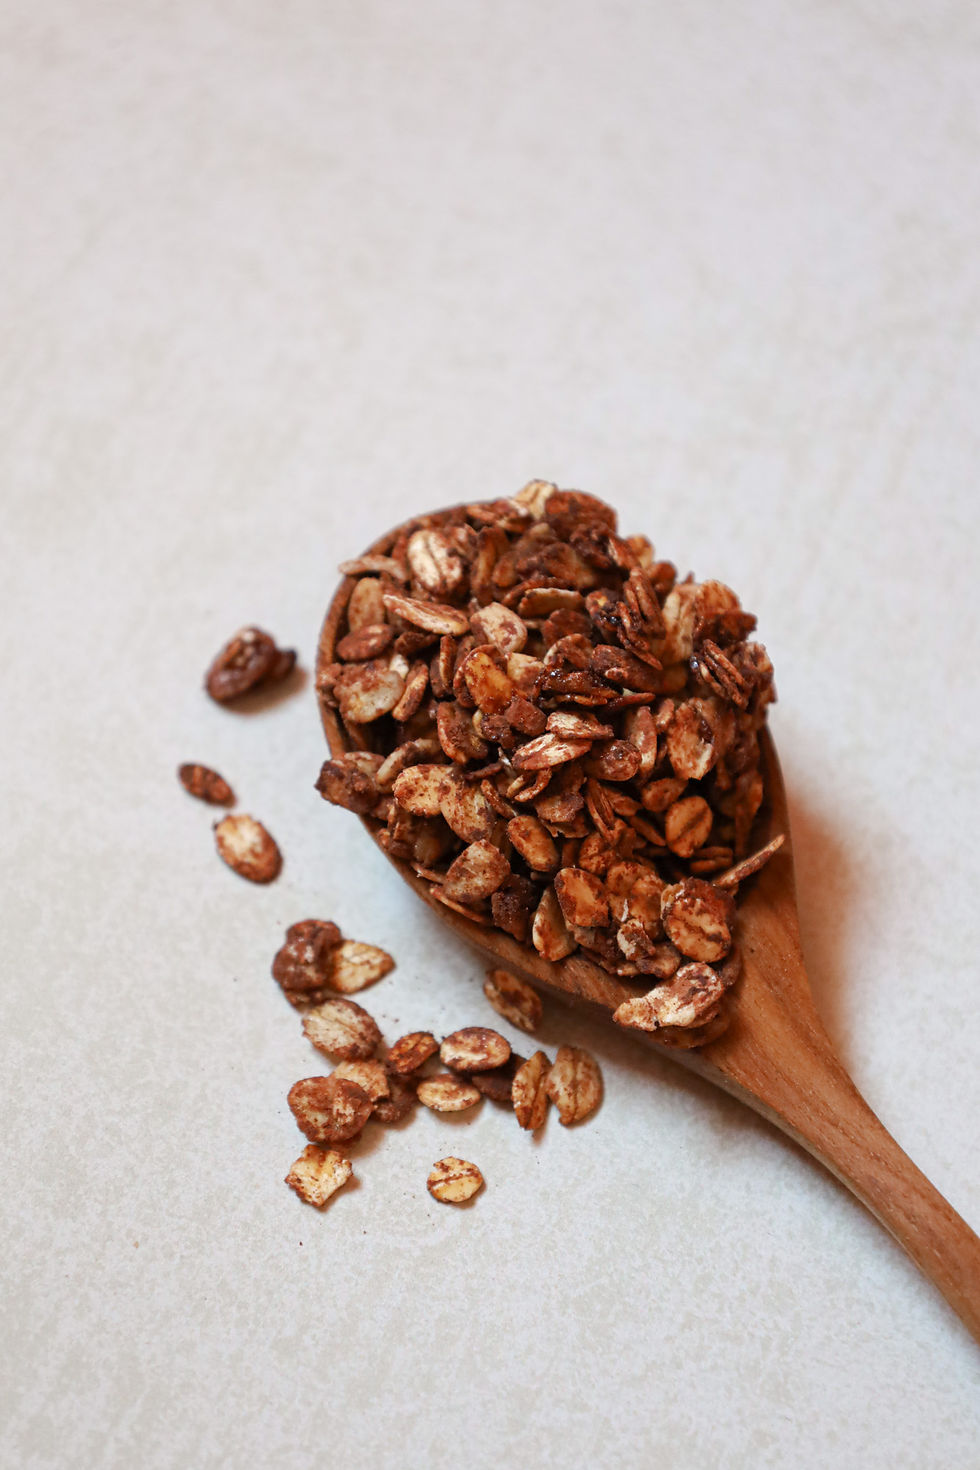
STOVETOP CHOCOLATE GRANOLA
Chocolaty and perfectly crunchy chocolate granola made on the stovetop.
TIME Less than 20 minutes
SERVES 1 generous breakfast portion
INGREDIENTS
30g rolled oats (1/3 cup)
1 tsp macadamia or coconut oil
1/2 tbsp cacao powder
1 - 2 tbsp maple syrup (adjust to your liking)
about 3/4 tbsp sunflower seeds or flaked almonds
and a pinch of salt
INSTRUCTIONS
Heat a pan on medium heat. Add the rolled oats and toast the oats (without oil) until it's lightly golden and fragrant.
Add the sunflower seeds or almonds coconut and toast for a few more minutes. Stir ever so often to avoid burning.
Reduce the heat and add the macadamia oil, half the maple syrup and salt. Stir well to coat all-over.
Sprinkle over the cacao powder and mix to coat evenly. Add the rest of the maple syrup, mix again and toast for another 3 - 4 minutes.
Remove from the heat.
Let it cool for a few minutes before adding it to your yoghurt bowl or enjoy it with oat milk and fresh berries.


Comments